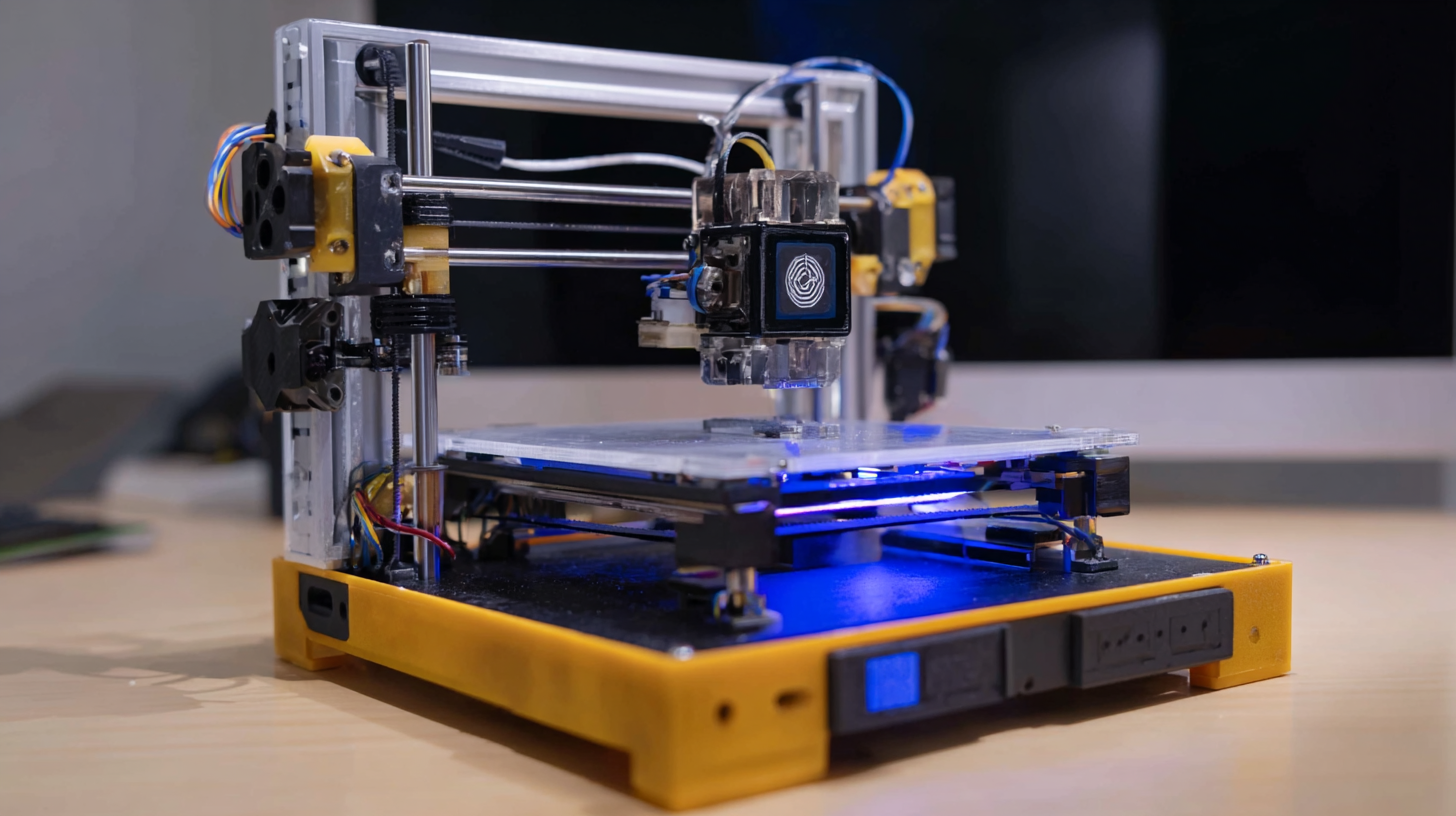
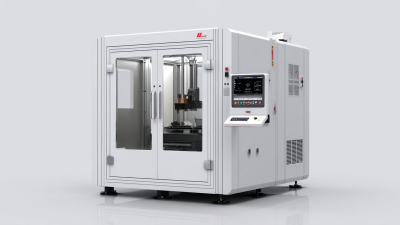
10 Digital Tips for Maximizing Your Mini 3D Printer Experience
As the popularity of mini 3D printers surges, with the market projected to reach $7.7 billion by 2025, enthusiasts and professionals alike are eager to maximize their printing experiences. The compact design and affordability of mini 3D printers make them accessible to a wider audience, allowing for innovation and creativity in a variety of fields from education to prototyping. A recent study indicated that 3D printing in smaller formats not only saves material but also enhances precision for intricate designs, proving its effectiveness in both hobbyist and industrial applications. Given the rapid evolution of 3D printing technology, it's essential to harness strategies that elevate your mini 3D printer experience, ensuring you stay ahead in this ever-expanding domain. In this blog, we will explore ten essential digital tips to optimize your printing journey, unleashing the full potential of your mini 3D printer.
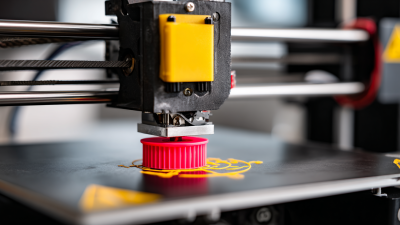
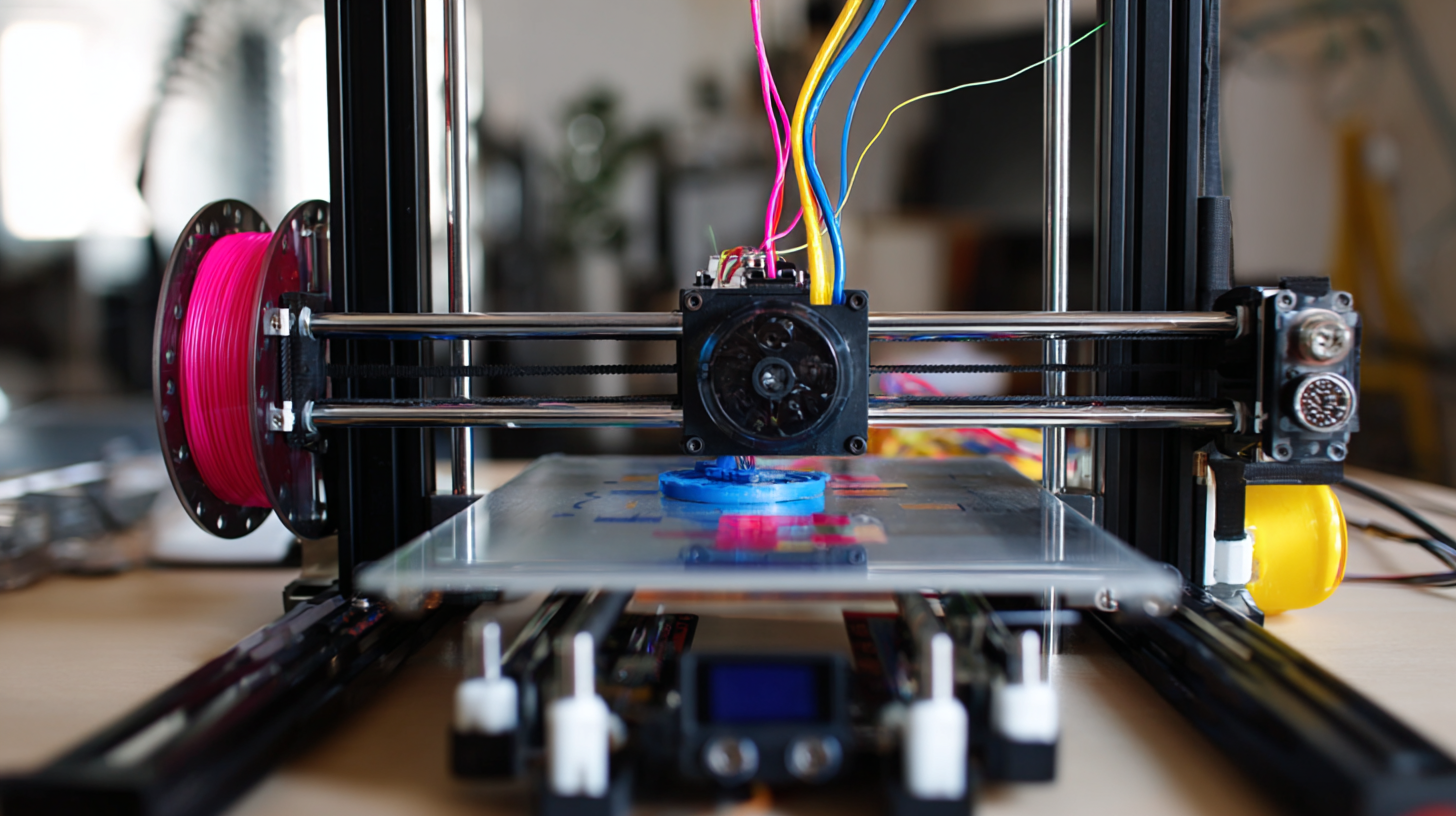
Choosing the Right Filament for Your Mini 3D Printer Projects
When venturing into the world of mini 3D printing, selecting the right filament is crucial for achieving the best possible results. Filament comes in various materials, each with its unique properties that can influence the outcome of your projects. PLA, for instance, is a popular choice for beginners; it's easy to print with, biodegradable, and available in an array of colors. Its temperature resistance is limited, making it ideal for decorative items but less suitable for functional parts exposed to heat.
On the other hand, if durability is your goal, consider using ABS or PETG. ABS is known for its strength and heat resistance, though it requires a heated bed and well-ventilated workspace due to the fumes it emits. PETG, a slightly more user-friendly option, combines the ease of PLA with the durability of ABS, providing a great balance for intricate designs that require longevity. Understanding these materials and their characteristics will enhance your mini 3D printing experience, ensuring that your projects turn out just the way you envision them.
10 Digital Tips for Maximizing Your Mini 3D Printer Experience - Choosing the Right Filament for Your Mini 3D Printer Projects
| Filament Type |
Best Use Case |
Printing Temperature (°C) |
Difficulty Level |
| PLA |
Beginner Projects |
180-220 |
Easy |
| ABS |
Durable Parts |
210-250 |
Moderate |
| PETG |
Functional Items |
220-250 |
Moderate |
| TPU |
Flexible Parts |
220-250 |
Hard |
| Nylon |
Strong Parts |
240-260 |
Difficult |
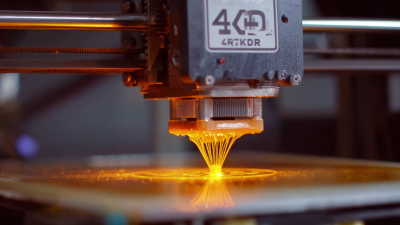
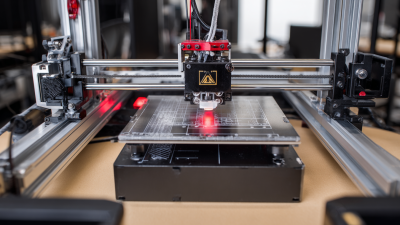
Optimal Printer Settings for Different Materials
When it comes to maximizing your mini 3D printer's performance, understanding optimal printer settings for different materials is essential. According to a recent report by 3D Printing Industry, material selection can significantly influence print quality, with certain plastics like PLA requiring lower temperatures around 190-220°C, while materials such as ABS need higher settings of 230-260°C. Proper temperature control not only enhances adhesion but also minimizes warping, especially vital for smaller prints.
To achieve the best results, consider adjusting your print speed based on the material used. For intricate designs or when printing with flexible filaments, reducing your speed to around 20-30 mm/s can lead to superior outcomes. Conversely, for simpler structures, speeds of 50 mm/s or more may suffice. Additionally, ensure that your bed temperature aligns with the material; for instance, a heated bed set to 60°C works wonders for ABS to prevent separation during printing.
Always remember to experiment with layer height settings based on the desired finish. A standard layer height of 0.2mm is suitable for general prints, but for detailed models, reducing it to 0.1mm can achieve a finer finish, potentially increasing post-printing efficiency. Adapt these settings based on the material for a more tailored printing approach, preserving both time and material usage.
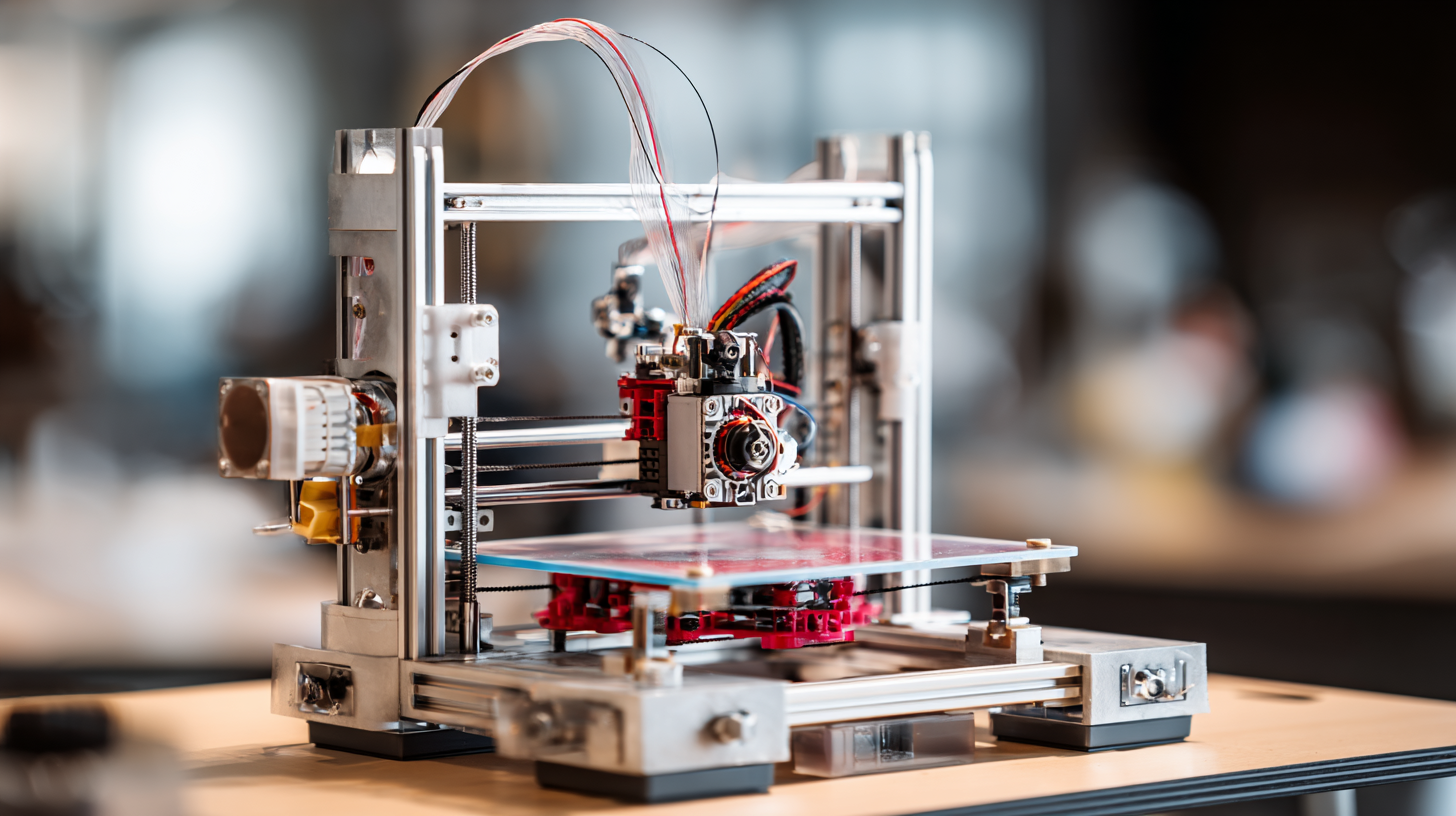
Essential Software Tools for Mini 3D Printer Owners
When it comes to maximizing your experience with a mini 3D printer, leveraging the right software tools is essential. For both beginners and experienced users, selecting an effective slicer is crucial. Software like Ultimaker Cura or PrusaSlicer not only simplifies the printing process but also allows for advanced customization of print settings. These tools enable you to adjust layer height, print speed, and infill, ensuring that your final product meets your standards. Moreover, many slicers come with built-in support generation and slicing previews, making it easier to visualize and optimize your prints before hitting the start button.
In addition to slicing software, design tools play a fundamental role in the creative process. Tinkercad is a popular choice for beginners, offering an intuitive interface to create 3D models from scratch or modify existing designs. For more complex projects, software like Fusion 360 provides advanced capabilities, including parametric design and simulation features. Ultimately, pairing the right slicing software with versatile design tools not only enhances the functionality of your mini 3D printer but also fuels your creativity, opening doors to endless possibilities in 3D printing.
3D Printer Software Usage Statistics
Best Practices for Maintenance and Upkeep of Your 3D Printer
Maintaining and upkeeping your mini 3D printer is crucial not only for its longevity but also for ensuring high-quality prints. According to a study from the 3D Printing Industry, regular maintenance can extend the life of a printer by up to 25%. One of the top tips is to create a routine cleaning schedule. Dust and filament residues can accumulate over time, affecting the printer's performance. Clean the nozzle, build plate, and gearing every few prints to maintain optimal functionality.
Another essential practice is to regularly calibrate your printer. The FDM (Fused Deposition Modeling) printers often experience slight shifts in alignment due to repeated use. A report by T. R. Reina indicated that proper calibration can improve print accuracy by up to 30%. Take the time to check bed leveling and nozzle height to ensure your prints adhere well and maintain precision.
Finally, invest in quality filaments and spare parts. The Materials Research Society suggests that the quality of materials used plays a significant role in print success rates. Using high-grade filament can significantly reduce the chances of clogging and poor adhesion. By following these best practices for maintenance and upkeep, you can enhance your mini 3D printing experience and achieve remarkable results.
Creative Project Ideas to Maximize Your 3D Printing Experience
Exploring the world of 3D printing opens up a realm of creative possibilities, especially when using a mini 3D printer. One of the most exciting project ideas is creating custom home décor items. From stylish planters to unique picture frames, you can design pieces that reflect your personal taste and enhance your living space. Tools like Tinkercad or Blender empower you to bring your imaginative designs to life, allowing for endless customization.
Another fantastic project to consider is designing functional household gadgets. Think about items like cable organizers, fridge magnets, or even small storage solutions. These projects not only help declutter your space but also offer practical uses that showcase the functionality of your mini 3D printer. By experimenting with different materials and colors, you can easily tailor these creations to suit your style while making everyday tasks more efficient. Embrace the opportunity to transform your ideas into tangible objects, and let your creativity thrive.